
: Select this option to enter a new code.
:Select a location (= administrator) and then this option to update the information.
:Select a location (= administrator) and then this option to delete the code.
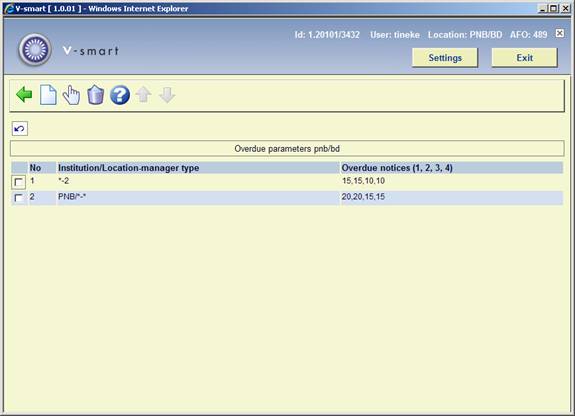
Per administrator in combination with an agency/location, defaults can be defined for the reminder period used for item transfer. The reminder periods are used as defaults; you may opt to define other periods for the individual administrators.
When you select this menu option, an input screen will be displayed. If definitions have already been entered, an overview screen will be displayed.
Institution/Location-manager type: Enter an agency/location code, where applicable followed by an administrator code.
Enter the agency/location combination in one of the following formats:
|
IS/LOC |
the reminder period as defined only applies to the agency/location as defined |
|
IS/* |
the reminder period as defined applies to all locations in the defined agency |
|
* |
the reminder period as defined applies to all locations in all agencies |
To indicate the type of administrator, one of the following formats must be used:
|
0 |
when the reminder periods apply to only the administrative administrators at the defined agency/location |
|
1 |
when the reminder periods apply to only the on-line administrators at the defined agency/location |
|
2 |
when the reminder periods only apply to the off-line administrators at the defined agency/location |
|
* |
when the reminder periods apply to all types of administrators at the defined agency/location |
Example
“OBG/C-*”
Overdue notices (1, 2, 3, 4): Enter four numbers, separated by a comma. These numbers indicate the number of days after the due date of a collection has passed after which the first, second, third and fourth reminders are sent.
After the details have been entered been entered, the overview screen will be displayed.
: Select this option to enter a new code.
:Select an administrator and then this option to update the overdue information.
:Select an administrator and then this option to delete the code.
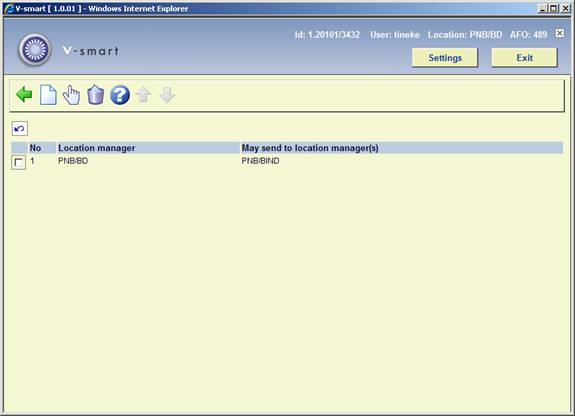
Use this menu option to define the allowable status changes. Using this method you will be able to better control the workflow within the library. For example, you can define that items must follow the route from the acquisition department to the cataloging department and from there to the binder. After you have set these allowable status changes, you cannot transfer items from the acquisitions department to the binder without transferring them to the cataloging department first.
When you select this menu option, an input screen will be displayed. If definitions have already been entered, an overview screen will be displayed.

Location manager: Enter an online administrator.
May send to location manager(s): Enter an online administrator, separate multiple codes by a comma.
After the details have been entered been entered, the overview screen will be displayed.
: Select this option to enter a new code.
:Select an administrator and then this option to update the information.
:Select an administrator and then this option to delete the code.
Use this menu option to determine that status modifications may only be processed after confirmation.
When you select this menu option, an input screen will be displayed. If definitions have already been entered, an overview screen will be displayed.

Location manager: Enter an online administrator.
May send to location manager(s): Enter an online administrator, separate multiple codes by a comma.
After the details have been entered been entered, the overview screen will be displayed.

: Select this option to enter a new code.
:Select an administrator and then this option to update the information.
:Select an administrator and then this option to delete the code.